
How to install a toilet in a basement with a rough in pipe? Installing a flushable toilet in a basement is not hard if you know what to do with the necessary tools. It might seem like adding a toilet to your crawl space is expensive, but it is an easy project if you have roughed-in pipes. The best part is that the installation usually only takes a few hours, even for a beginner.
To follow the installation process, you need to:
- Inspect the existing pipes for defects. Make sure they are large enough to house a flushable toilet.
- Cut off the rough-in sections where parts of the pipes extend into the walls or ceiling.
- Install flanges on the outside of the pipe sections to prevent water from backing up into the fixture.
Then, you are good to go. For a more detailed explanation and illustration, read on.
Table of Contents
Components of a Water System
Before discussing the tools and the whole process of adding a bathroom to a basement, it is equally important to know the water system elements.
1. Sewer System
The wastewater system is composed of sewers and drainage pipes that collect wastewater from different establishments to water treatment sites. The latter are local reservoirs or city sewer systems, connected either directly with rural sewage systems or with the municipal sewage treatment plant.
2. Machinery and Equipment System
A machinery system is a system to get the wastewater from the equipment for treatment. This usually consists of a pump to get wastewater, pipelines, sewerage purifier, sewerage tank, sewage treatment system, sewerage pipe, and water leak detector.
3. Water Supply and Distribution System
The water supply and distribution system include pipelines carrying various water from water sources to households and instruments. In addition, it also applies to the pipes supplying hot water from the boilers to the taps.
4. Ventilation System
The air is supplied to the drainage system via the stove pipe. There are several reasons why heat does not pass through the roof, but in short, it means that the air is not supplied to the entire structure. A duct was created to temporarily fix this problem. It passes through the wall to connect to a ventilation tube in the attic.
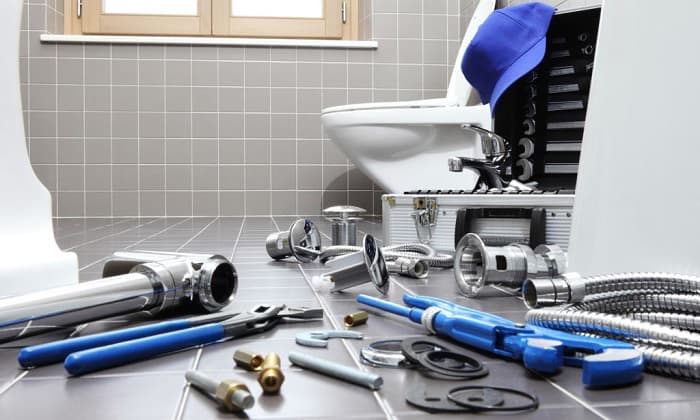
Essentials Tools to Use
The right tools make a big difference when installing toilet in basement. Here are some tools you will need so you can have a smooth installation.
- Hammer and hand drill with drill bits
- Hacksaw
- Open end wrench
Materials To Be Used
- Toilet
- Toilet supply hose
- Toilet flange
- Adhesive
- Shut off valve
- Concrete screws
- Hammer
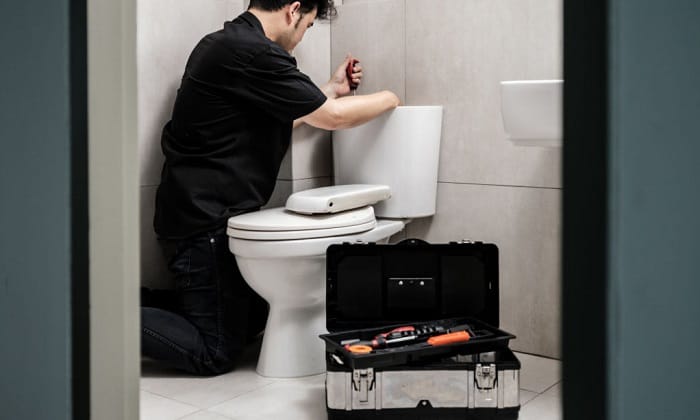
Steps in Putting a Bathroom in a Basement
Now that you know the different parts of a water system and the tools and materials you will need, it is time to get started in installing the toilet in your basement.
Step 1 – Find the Drainage
Once you find the main drain, maximize its location. Mark the spot and measure it properly. This will be the point of your toilet’s floor connection.
If you want a more accurate measurement of the distance from the toilet to the main drain, you can do a trial by keeping a piece of string long enough from it to reach from the bathroom to the basement’s main drain.
Simply establish the point where the string meets with the main drain and make sure it has enough space before you drill any holes for plumbing supplies to go through.
Step 2 – Preparing the Water Supply
Because of the need to turn off the water at your house, some people will opt to have someone else do this for them. But if you want to do it yourself, it’s best to call your local utility company and see what they recommend.
If possible, get the exact shut-off location written down for you, along with any special tools you may need to turn the taps off. This is one of those things that will look super simple until you’re under the sink fiddling with it for 10 minutes, trying to remember where you saw that lever that needs pulling.
Step 3 – Check Your Drain Pipe
The third step to install bathroom in basement with rough in is to check your drain pipe. Metal, PVC, or ABS? It’s one of the most common questions when replacing your drain pipe. If you are lucky enough to know the material of your old pipe, you can match it up to a toilet flange from the three materials available for purchase.
Step 4 – Saw the Drain Pipe
If you can see the pipe from the top, use a saw to cut through the pipe. Then, if it’s already loose, remove the cap with a hammer. You may want to use a rag to protect yourself from sewer fumes.
Step 5 – Line Up The Flange
Ensure that the two holes that are 12 inches from the wall and 24 inches from the wall will be equidistant from the wall so the toilet can fit correctly and flush straight.
Step 6 – Install The Shutoff Valve
Turn off the water supply to your toilet by turning off a shutoff valve. If a main water supply valve controls the supply, turn it off. If there is no separate valve for the toilet tank, you can turn off the main water.
Cut the solder off with a knife. Cut off enough to leave room for your new valve. A bucket under the pipe can save time cleaning up if you’re not able to release the water in the pipe by draining it elsewhere.
If there is an escutcheon on the pipe, slide it toward the wall and press it against the wall. Remove the compression nut from the valve and discard the brass ring inside of it. Slide the nut along the pipe with the threads facing out.
Fully tighten the nut with the wrench that is on the compression valve. With another wrench, ensure there are no leaks between the valve and the shutoff valve. To turn off the shutoff valve, twist it clockwise until it stops.
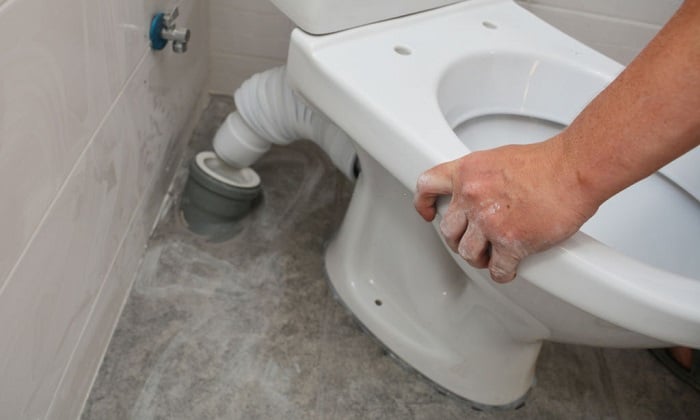
Step 7 – Install the Toilet
Before beginning the installation of the toilet:
- Stand at the full length of the toilet and look down through the trapdoor into the bowl.
- Hold the door open so that water will not pour in through the trapdoor.
- Put your foot on the trapdoor and swing your other foot outside the door frame into the room where the unit is mounted.
Position the toilet so that the lower edge of the seat is resting on your shoulder and about 4 inches beyond the edge of the door frame, about 6 inches from where the trapdoor begins.
Start by lifting the flush handle onto the forwardmost position, lower it to its normal resting position, and finally, grasp the flush plunger with both hands if you anticipate that the toilet will begin to move when you begin lowering it.
Final Thoughts
So, how to install a toilet in a basement with a rough in pipe? With all the steps and materials laid out, the process can be pretty easy. However, before installing a basement toilet, you must have a plan for this project.
Toilet installation in the basement is more complicated than installing one above ground. By knowing your requirements and limits, you can install a fully functional, sanitary, and convenient toilet system in your basement. Hopefully, this step-by-step guide will make your life easier.
You can also share this article with your friends who are planning to install a toilet soon!

I’m Paulk Webb, and I work as a writer for Saveourwaterrebates. I’m happy to put in the time and effort to conduct market research to identify the most pressing issues faced by households concerning their plumbing. Feel free to check out our guides to get the most informed recommendations for how to solve your problems.