
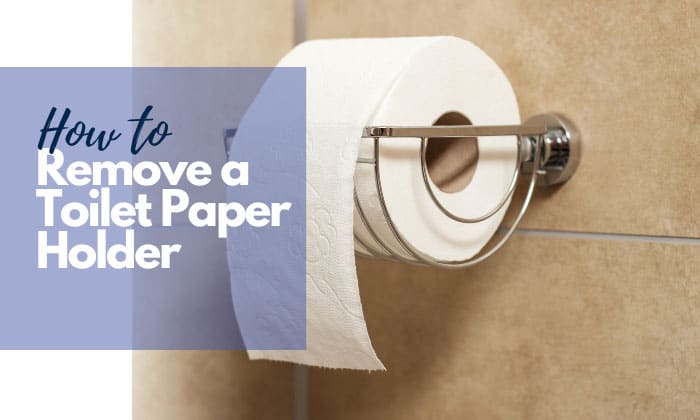
Toilet paper holders play a significant function in many ways you use your toilet. You use tissue paper to freshen up and dry yourself and give the bathroom a warm and pristine look.
A time comes, however, when you need to replace your tissue holder because of wear and tear, age, or you want an updated design.
Knowing how to remove a toilet paper holder quickly and easily saves you money, time, and effort.
This short guide provides you with the needed informative steps to follow to make this process a breeze. Here they are.
Table of Contents
Ways to Remove a Toilet Paper Holder
There are as many ways to remove a toilet paper holder as there are models and designs available. Removing or changing a toilet paper holder is actually quite easy.
Types of Toilet Paper Holders and Ways to Remove Them
Toilet paper holders, even with concealed screws, can be very handy to remove. Oftentimes, their screws are located on their underside or just in another area of the holder.
What you need
- Phillips Screwdriver
- Allen Wrench
- Heat Gun (for glued holder)
Steps to follow
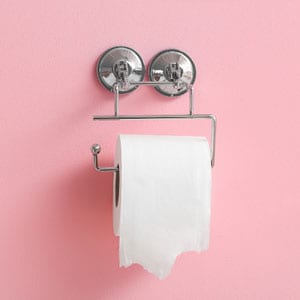
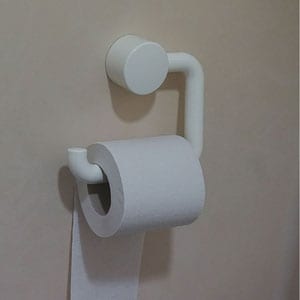
- If you’re to take off a toilet paper holder with a double post, detach first the holder rod and take out the roll of tissue paper.
- If you have to remove and install a one-arm toilet paper holder, just get the tissue roll off the rod.
- Examine the mount, its underside, and other areas carefully, and look for the screw.
If your holder is without screws, it is more likely that your mount is glued to the wall. Use a heat gun to soften the glue before detaching the mount from the wall.
- If you find the screw, use an appropriate Allen wrench or a screwdriver to loosen it.
- Slant carefully forward the mount to detach it from the wall bracket.
- Remove the wall bracket by unscrewing it fully from the wall.
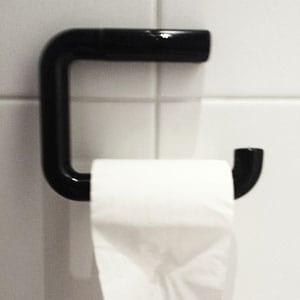
Most holders of this kind are metallic, either in chrome, brass, nickel, bronze, or stainless steel.
This toilet paper holder is best fitted in drywall or tiled toilets. Alternatively, an alternative is to attach one on a cabinet containing other toiletries. Being directly secured on tile wall is one of the most common mounting strategies.
What to prepare:
- Allen wrench
- Phillips Screwdriver
- Flathead Screwdriver
Steps to follow
- Detach first the toilet paper roll and its holder rod.
- Examine the mount sides or bottom for any removable grub screw.
- With an allen wrench or Phillips screwdriver, loosen the mount by turning the screw(s) counterclockwise.
- Use one hand to hold and another to detach the mount by gently pulling it off the wall. Use a flathead screwdriver to gently pry it off if necessary.
If you consider removing the holder from the wall altogether, you can hang a toilet paper holder instead on your toiletries cabinet.
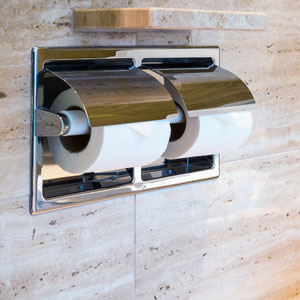
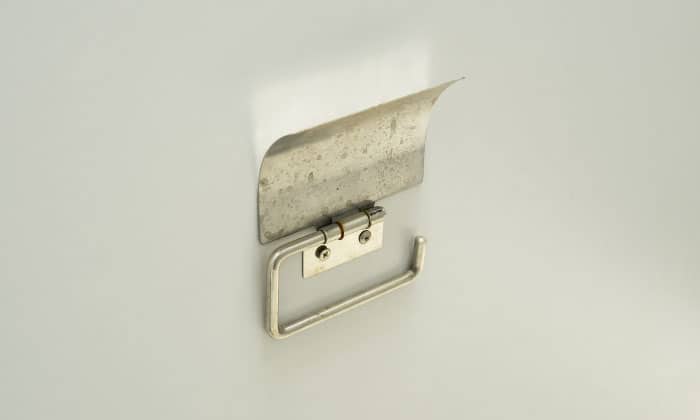
A recessed toilet paper holder is usually embedded by builders or contractors within the wall during construction.
There are 2 types of this kind: Glued-on and Screwed-on
What to prepare:
- Sharp Knife
- Putty knife
- Long-nosed pliers
- Phillips Screwdriver
- Electric Drill
- Duct tape
- Chisel
- Hammer
Steps to follow
A glued-on or no screws recessed holder can be removed through the following steps. Remember to proceed gently, as you could chip off the tile wall.
To prevent accidentally damaging the surrounding tiles, put duct tape around the holder before starting.
With a sharp knife, take off the caulk surrounding the holder.
- Use your pliers to strip off the detached caulk around the holder.
- Detach the edges of the holder using the chisel and hammer to yank it out completely.
For a screwed-on holder, the steps are the following:
- Detach first the toilet paper rod, then get out the tissue roll. Examine the inside of the holder for the location of the screw.
- Unscrew the recessed holder using a screwdriver or electric drill.
- Untuck the holder by pulling it off from its hole.
What to prepare
- Hammer
- Chisel
- Protective Eyewear
- Gloves
- Duct Tape
- Knife
Steps to follow
- Place duct tape around the holder sides to prevent damaging the surrounding tile area.
- Using a knife, peel off the grout around the holder with a firm but careful stripping stroke.
- With gloves and protective glasses on, carefully chisel both holder sides.
- Detach the whole holder from the wall.
In case you are planning to replace your toilet paper holder, you first need to cut it in half with an oscillating cutter. Then chisel away slowly and carefully the remaining pieces until the entire holder, and adhesive remnants are removed.
How Do You Tighten a Loose Toilet Paper Holder?
Regular toilet paper use eventually results in the paper holder getting loose from its mount. Children and elderly users sometimes hold onto it for support allowing its screws or mastic to loosen.
Regularly checking your toilet paper holder addresses this concern. Here are the ways to keep your holder tightly in place.
- Loosened Grub Screw: Examine the screw location on the underside of the toilet paper holder mount. Place an appropriate Allen wrench or screwdriver on the screw tip and tighten it by a clockwise turn.
- Loosened Wall Bracket: Take off the toilet paper holder as previously instructed. Then, you can tighten up any loosened mount or bracket screw.
- Weakened adhesive: Take off first the holder rod and paper roll. Then, you can use a putty knife to carefully remove any old adhesive remnants. Finally, put on new adhesive around the holder to firmly secure it.
These options work best for repairing ordinary loosened toilet paper holders. If any doesn’t work, follow the process of entirely removing the holder and install a toilet paper holder yourself. Remember to replace old screws with new ones.
What Are the Steps to Do a Moen Toilet Paper Holder Removal?
The steps to remove the Delta toilet paper holder also apply to the Moen design. Just locate the small screw opening at the fitting’s base and loosen the grub screw with an Allen key or screwdriver.
Detach the posts afterward and unscrew the bracket mounts. You may consider replacing mounting brackets if the old ones keep breaking. Do not purchase one without set screws.
Conclusion
Various toilet paper holders are available in the market, both online and in physical stores. When the need arises, however, knowing when and how to remove a toilet paper holder yourself becomes an essential skill.
In fact, removing and mounting a toilet paper holder is rather an easy job if you have the right tools. Make sure to check what type of holder works best for you and install it following the instructions.
Read more:

I’m Paulk Webb, and I work as a writer for Saveourwaterrebates. I’m happy to put in the time and effort to conduct market research to identify the most pressing issues faced by households concerning their plumbing. Feel free to check out our guides to get the most informed recommendations for how to solve your problems.