
Toilets are used for everyday comfort and convenience. So if you’re thinking of simply deep cleaning your toilet or making some repairs, your first step is to take the toilet seat off.
If you’re here because you are stuck with toilet seat removal problems, good news for you because you can check out these easy steps on how to remove a toilet seat with hidden fixings and bolts.
Keep reading to learn what you’ll need and what steps to follow.
Table of Contents
Steps to Remove Toilet Seat With Hidden Fixings and Bolts

You’re probably here because you’re worried that it will not be easy on your first try. Fear not! With the right toilet seat removal tool and materials as your partner, all you need is to follow and it will work wonders.
What to Prepare

- Protective gloves
- Cleaning agents
- Sponge or cloth or disinfectants
- Making or duct tape
- Screwdriver, pliers, or wrench
- Small bag or container
Are you ready to remove a toilet seat with hidden fixings and bolts? Below are the steps you must follow.
Step 1: Put on gloves and clean your toilet

A toilet seat is home to germs and pathogens, with approximately 50 bacteria per square inch.
So, the first thing you need to do is to wear protective gloves to protect your hands. It will help prevent direct contact with harmful microorganisms or strong cleaning agents.
Clean and disinfect before attempting to remove your toilet seat. Of course, the cleaning agent or disinfectant you will use will depend on your choice, but make sure you use them properly.
Step 2: Secure your toilet seat to its lid

For this step, grab a masking or duct tape in your home and use it to tighten the toilet seat to its lid in a closed or open position.
Toilet seats can be stubborn. Expect that when you start removing your toilet seat, it will move around, or you might accidentally slam it down. This can be quite irritating, and it might get in the way of your work.
Now, if you’re taping the seat and lid together, align them properly. Start at one side, and wrap the tape around the hinge area where the lid and seat connect.

- Examine your own toilet seat’s design. Identify the type of hinges, hidden fixings, and locate the bolts that secure the seat to the toilet bowl.
Older toilets have bottom-fitting fixings, while modern ones have a top-fixing toilet seat. There are also toilet seat models with toilet seats with concealed fixing no button.
It’s easier to remove a top fixing toilet seat because screws or nuts are typically located on the top surface of the toilet bowl.
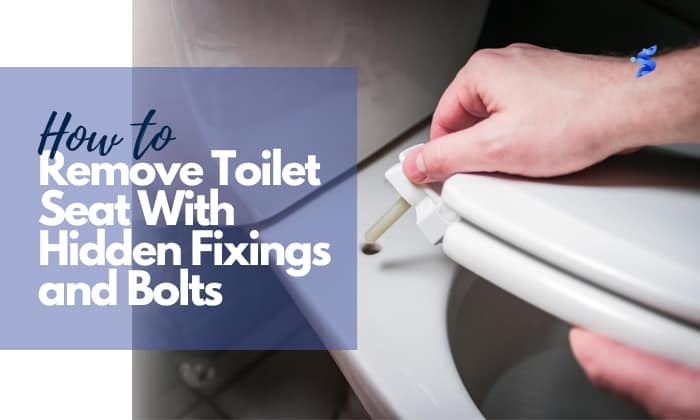
- When you’re all set, now find the bolt caps. An American Standard toilet seat has a plastic cover for the bolt. If yours does, open the bolt caps using your fingers or a screwdriver to pry up the plastic cups on the hinges.
If in case your toilet seat is designed with no bolt caps, this means the bolts are readily visible and accessible, and you can proceed to the next step.
Step 4: Loosen the bolts

Look on the underside of the toilet. Check what type of bolts your toilet has. Use the appropriate tool to finally unscrew the toilet seat.
- If the bolts have a hexagonal shape, you can utilize a wrench.
- If bolts have a rounded or smooth head, use pliers.
- For toilet seat bolts with a slot on top, you can use a flathead screwdriver.
Using the right tool turn the bolts counterclockwise and loosen them. Repeat the same thing to the other side until you can release the fixings.
While it is important that you give a firm grip and steady pressure as you loosen the bolts, be cautious not to apply excessive force.
Step 5: Remove toilet seat

Collect all the screws, bolts and any plastic or metal hardware and put them inside a bag so you won’t lose them.
Now, once you completely remove your toilet seat, you can proceed with your next agenda. Whether you will replace the toilet seat after you uninstall the previous one or you want to deep clean your toilet, pat yourself on the back for successfully removing a toilet seat with concealed fixings and hidden bolts.
Frequently Asked Questions

What’s the Best Way to Clean My Toilet Seat?
There are a lot of products you may choose to clean your toilet seats. But the best way to know the most suitable depends on what material your toilet seat is made of.
For general use, you can use mild soap and water. There are also anti-bacterial wipes if you want.
To remove toilet seat stains, it’s recommended that you use chemical products. Be careful in using them though, because most of them are TOXIC.
Do Toilet Seats Come With Fixings?
If you’re asking whether a new toilet seat comes with fixings, the typical answer is yes. These fixings are designed to fit the specific model and style of the toilet seat, ensuring a proper and secure fit.
And lucky for you because when you buy a new toilet seat, its manufacturer ensures proper guidelines regarding the fixing installation.
Note that in case the fixings are not included or if it’s necessary that you replace existing fixings, you can purchase them separately from hardware stores or online retailers.
How Long Does It Take to Remove a Toilet Seat With Hidden Fixings and Bolts?
If you find it easy and straightforward to use the necessary materials and follow all the steps provided earlier, removing a toilet seat with concealed types of fixings and bolts is relatively quick. You can be done within 5-15 minutes.
If the fixings are rusted, or you encounter any difficulty during the process, you take longer to remove your toilet seat. Just make sure you are on the right track!
Is it Necessary to Replace My Toilet Seat?
Toilet seats accumulate unwanted odor, bacteria, and stains. Over time, it also tends to wear out or get damaged with cracks. Even if you maintain your toilet thoroughly cleaned regularly, it is recommended that toilet seats are replaced with new ones after 5-7 years.
You use your toilet seat, so of all people, you’ll know if it needs cleaning or replacing.
Ultimately, it’s a personal preference but hygiene and cleanliness should never be neglected.
Conclusion
Whether you want to clean your toilet or repair or replace your toilet seat, you first need to remove your toilet seat.
No need to worry about hidden bolts or fixings. If you are stuck and do not know what to do, these 5 easy steps on how to remove a toilet seat with hidden fixings and bolts will save your day.
Remember, it’s always a good idea that you can never go wrong with consulting the instructions provided by the manufacturer in your toilet seat for more precise guidelines.

I’m Paulk Webb, and I work as a writer for Saveourwaterrebates. I’m happy to put in the time and effort to conduct market research to identify the most pressing issues faced by households concerning their plumbing. Feel free to check out our guides to get the most informed recommendations for how to solve your problems.