
A leaky toilet shut-off valve means disaster in your bathroom. The constant flow of water drippings damages your bathroom floor and plumbing system and causes your water bills to rise. To prevent these problems, you should know how to fix a leaking toilet shut off valve immediately.
Most of the time, the culprit of this leak problem is a loose packing nut. You can retighten it or clean the parts of the valve assembly. Don’t forget the washers, which may have lost their elasticity over time.
Table of Contents
Ways to Fix a Leaking Toilet Shut Off Valve
When your toilet shut-off valve keeps leaking even when closed, then you have a severe problem. Luckily, the way to fix a shut-off valve leak is quite easy for anyone to do. Here are some easy ways to stop toilet valve leak.
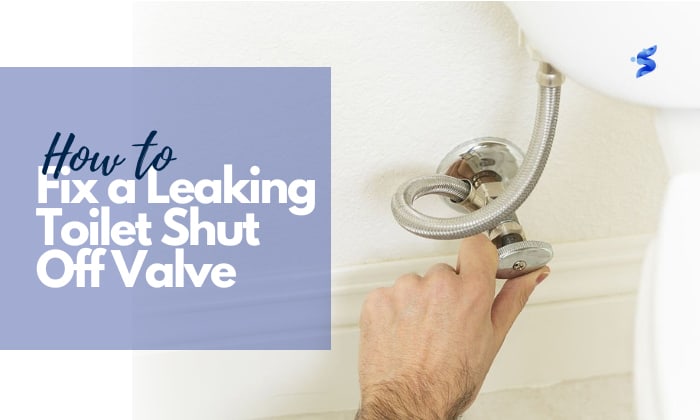
1. Tighten The Packing Nut

Most of the time, the shut off valve is leaking at the stem due to a loose packing nut. All you need is to tighten this nut back to create a watertight seal.
- First, put a bucket under the valve to catch any water drippings which may damage the bathroom floor.
- Now, grab an adjustable wrench or pliers and turn the packing nut just under the handle.
- Move the nut a quarter or an eighth of a turn gently. Stop turning when the leaky shut off valve is fixed.
Tip: Consider wrapping the ends of the pliers with masking tape to help protect the nut while turning.
There should be no leak when you open the water supply back again. If there is, continue doing the steps below.
2. Clean The Components

The accumulation of dirt and gunk can start your toilet shut off valve leaking problem. When all this debris gets into the parts, they can loosen the connection. The easiest way to repair toilet shut off valve leaks is to clean the parts.
- The first thing you need to do is to turn off the water supply valve. You don’t want a surge of water to bother you while you disassemble the shut-off valve.
- Now disassemble the parts of the shutoff valve. Remove the screw on the valve and unfasten the packing nut. Remove the threaded valve stem and neoprene rings, then set aside.
- Clean each part of the valve with a cloth. For stubborn dirt, try to scrub them with an old toothbrush.
- Check for any rust. If there is any, remove the corrosion with a mixture of vinegar and water.
3. Work Or Replace The Washers

The neoprene washers in the shut-off valve under the toilet or under bathroom sink can get worn out even with a lack of activity. When the neoprene becomes stiff, it loses its sealing power and, hence, can cause leaking at the threads.
- Remove the neoprene washers from the valve assembly.
- Try to massage the neoprene to revive its elasticity. If the washers aren’t budging, replace them with new ones. You can get them at your nearest local hardware store.
- Once done, return them into place. The washers should sit properly on the valve stem.
Tip: Take a picture of the valve unit before disassembly so that you can easily put the parts back in their original position.
- Open the water supply to check whether the leak is still there.
If no amount of repair can fix the leak, your best course of action is to replace the toilet shut off valve entirely.
Conclusion
Now that you’ve reached the end of this article, you probably know how to fix a leaking toilet shut off valve now. The steps are simple if you know the order of the components in the valve assembly. To prevent this leak problem, clean the components regularly and tighten everything, especially the packing nut.
Let us know your thoughts on this tutorial in the comment section below. If you want to help spread the word, share this article with your friends.

I’m Paulk Webb, and I work as a writer for Saveourwaterrebates. I’m happy to put in the time and effort to conduct market research to identify the most pressing issues faced by households concerning their plumbing. Feel free to check out our guides to get the most informed recommendations for how to solve your problems.